


Hello awesome people!
As you can see in this post, I was honored to host a woodland-themed baby shower at my home for my super-cool cousin, K.
I used some items that were in my craft closet and made this customizable banner.

This is quite quick & easy, and the best part: it's reusable.
Tutorial Starts Here
The items you'll need:

--8 inch cake circles
--chalkboard paint
--paint brush (sponge type works best)
--twine
--scotch tape
--chalk
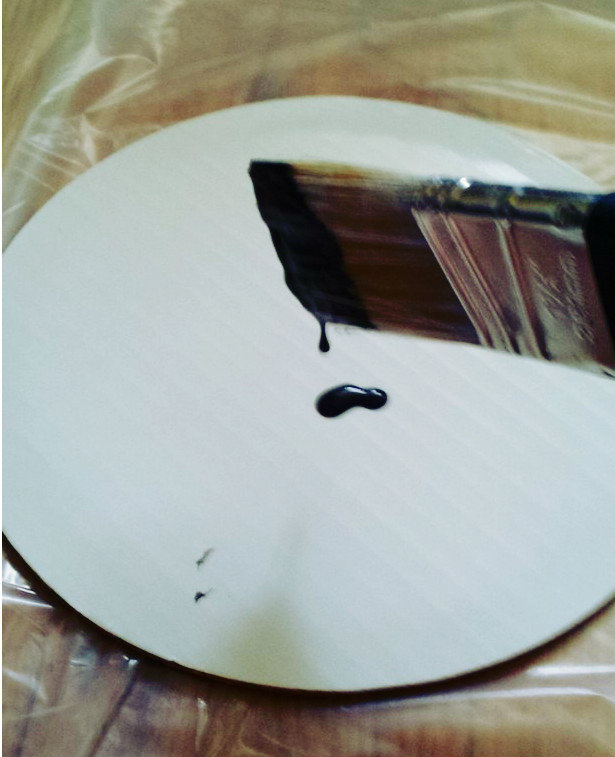
Step 1: Paint one side of each cake circle with blackboard paint. Make sure to get the edges.
Don't be afraid to put a thick coat; blackboard paint works better in thick layers.
Step 2: Let paint dry. If needed, put on a second coat to cover thin spots or smooth ridges.
Step 3: Pull out about 18 inches of twine, to allow for plenty of room when hanging your banner. Don't start too close to the end of the twine.
 |
| By Emilian Robert Vicol (Flickr: Ball-of-Hemp-Twine_31614-480x360) [CC-BY-2.0 (http://creativecommons.org/licenses/by/2.0)], via Wikimedia Commons |
Step 4: Position twine on the back side of one cake circle about 2 inches from the top. Secure with 2-3 pieces of scotch tape.
Step 5: Repeat with each cake circle, spacing equally as you go.
Step 6: Allow another 18 inches of twine at the end, and cut twine from spool.
Step 7: Decorate each cake circle with chalk-- your child's sidewalk chalk will make some pretty letters and pictures.
If you goof up, just erase gently with a damp paper towel and wait until completely dry before trying again.


What a brilliant idea! I love that this is reusable.
ReplyDeleteThanks Shannon!
Delete